
How to Connect an Analyzer to Your LIS
Serial or LAN, the interface setting on the machine, and the three reasons a result never arrives. A practical guide to connecting an analyzer to an LIS.
Connecting an analyzer to laboratory software sounds like an IT job and is mostly not one. Four things have to line up: a cable, the machine’s own interface setting, the matching settings at the software end, and a sample whose barcode the software recognises. When a result does not arrive it is almost always one of those four — and almost never the software being “incompatible” with the machine.
This guide is written for the person who will actually do it: a lab technician or the owner, not a network engineer.
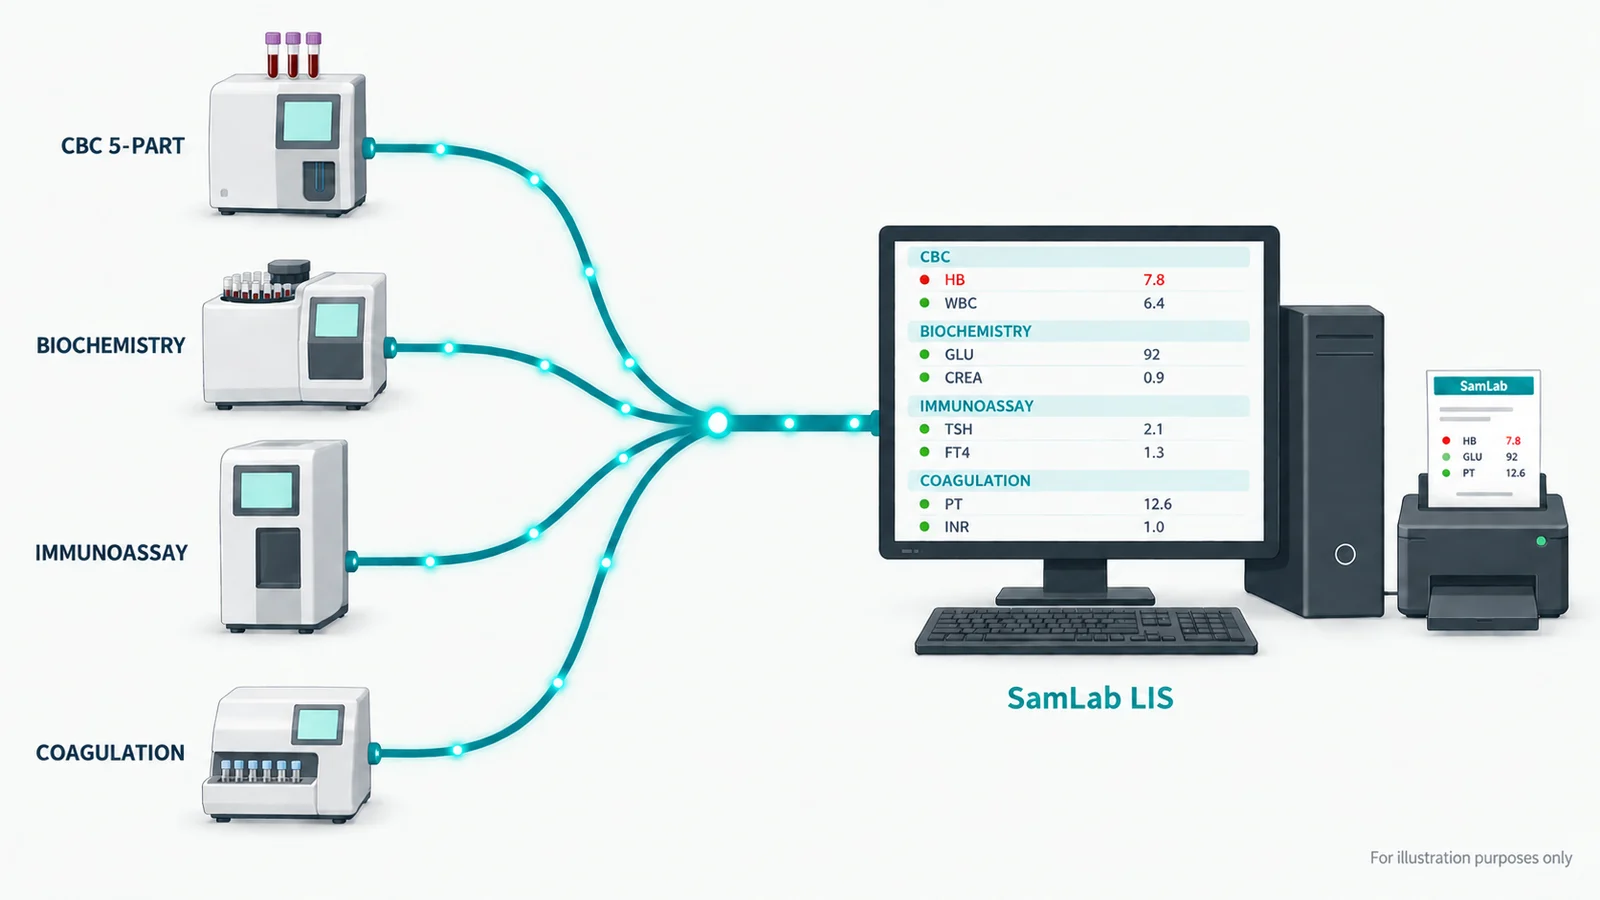
Step 1 — find out what your machine speaks
Every analyzer has a communication or host setting somewhere in its menus, often behind a service or engineer option. You are looking for three facts. The protocol, which is nearly always ASTM or HL7. The transport, which is either RS-232 serial or Ethernet. And, if it is serial, the line settings: baud rate, data bits, stop bits and parity. Write them down — you will type the same values into the software.
Older and mid-range benches are usually serial at 9600 8-N-1. Newer and premium instruments are normally Ethernet with a TCP port number, and their manuals call it the “host” or “LIS” port.
Step 2 — the cable
- Serial: an RS-232 cable from the analyzer to a COM port on the PC. Most modern PCs have no serial port, so a USB-to-serial adapter is normal — buy a known-good chipset. Cheap adapters drop characters under load, which produces results that arrive half-formed and are much harder to diagnose than a cable that does not work at all.
- LAN: an Ethernet cable from the analyzer to the same switch as the PC. Give the analyzer a fixed IP address on the same subnet, set on the machine itself, and reserve it on the router so it cannot move after a power cut.
Step 3 — switch the interface on
This is the step that is missed most often, and it is the reason for a large share of “the software does not support my machine” calls. Many analyzers ship with the host interface disabled, and the menu item is not always called anything obvious — look for Host, LIS, Comm, Transmission or Output. Some machines also carry a separate auto-transmit toggle: without it the instrument only sends when an operator presses a send button, so results appear to arrive at random.
Step 4 — match the software end
In the software, add the analyzer, choose its profile and enter the same transport settings you wrote down. A system that ships a profile per instrument family already knows that machine’s framing, its character set and how its test codes map to yours, so the only thing left for you to type is the port. Check that your exact model is on the supported list before you buy — not the brand, the model. You can search 311 supported models here
When a result still does not arrive
There are only three shapes of failure, and each one points at a different step.
| What you see | What it means | Where to look |
|---|---|---|
| Nothing is received at all | The link is not up | Cable, COM port or IP, and the interface setting on the machine |
| Data arrives but is unreadable | The line settings disagree | Baud rate and parity — every character will be wrong, not just some |
| Data is clean but attaches to no patient | The number does not match | The barcode on the tube versus what was registered |
The third one is the most common in a working lab, and the fix is at the registration desk rather than the cable. It is worth knowing that it is a different problem entirely — teams lose afternoons re-seating cables for what is a barcode mismatch.
The one that fools everybody
An analyzer that has been printing to a paper roll for years is often already transmitting: some machines mirror their printer output to the serial port whether anyone is listening or not. If data appears the moment you plug in, the machine was one setting away from being connected the whole time. More on how analyzer integration works
What to expect afterwards
A connected analyzer changes the day more than any other single feature. A 60-test biochemistry run stops being sixty numbers somebody types and becomes sixty numbers that are already in the right patient’s record before the operator has walked back to the desk. The transcription errors do not reduce; they disappear, because there is no transcription.
Frequently asked questions
Do I need a separate computer for each analyzer?+
No. One PC can hold several instruments at once over a mix of serial ports and network connections, and results from all of them land on the same worklist.
Can two analyzers share one serial port?+
No — one port per serial instrument. Add more ports with a multi-port USB-to-serial adapter rather than trying to split one.
Does the analyzer need an internet connection?+
No. The link is local, between the machine and the PC beside it. Offline-first software keeps binding results through an internet outage because nothing on that path leaves the building.
My analyzer is not on the supported list. Now what?+
Send the make, the model and a sample of what the machine outputs. A driver profile — the framing, the character set and the analyte mapping — can usually be written for it, and SamLab adds one at no extra cost.
Keep reading
- Lab Barcodes: How Sample Tracking Works
Once a tube is drawn, the patient’s name is no longer attached to it — the number is. How laboratory barcode tracking works end to end, why one patient can need three of them, and the single check that prevents a result reaching the wrong person.
- Best LIS Software in 2026: How to Choose
There is no single best LIS, only the best fit for a laboratory of your size, in your regulatory regime, with your analyzers. This guide sorts the market into categories and gives you the questions that actually separate them.
- ASTM, HL7 and LIS2-A2: Analyzer Protocols
Analyzer integration sounds like magic and is mostly two standards, a cable and a field map. Knowing which is which makes vendor conversations much shorter.